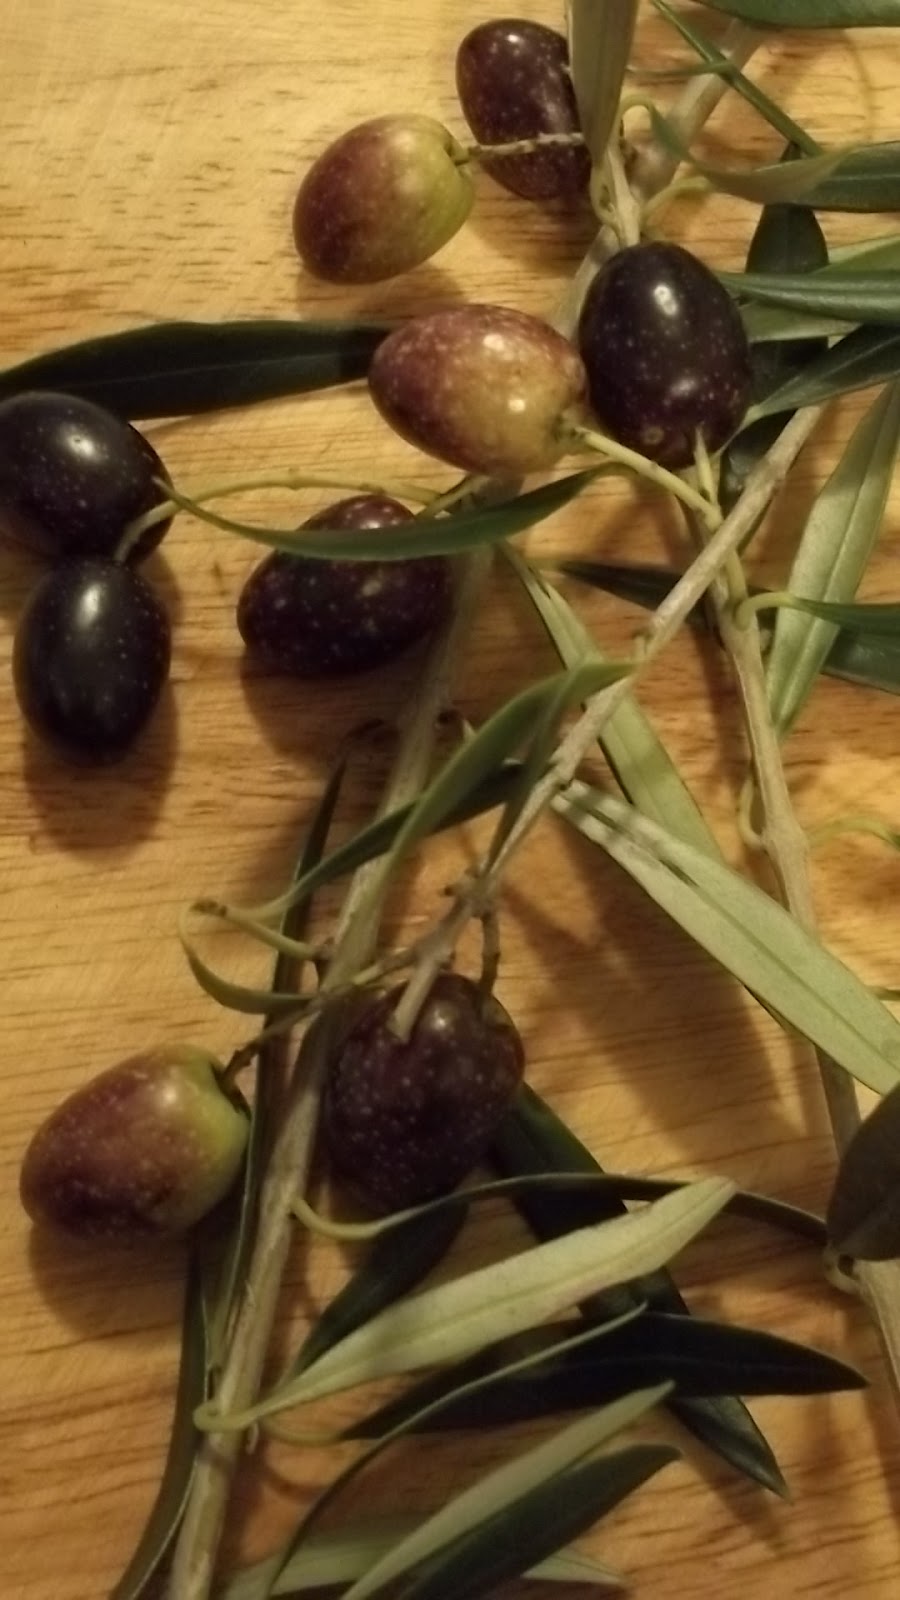
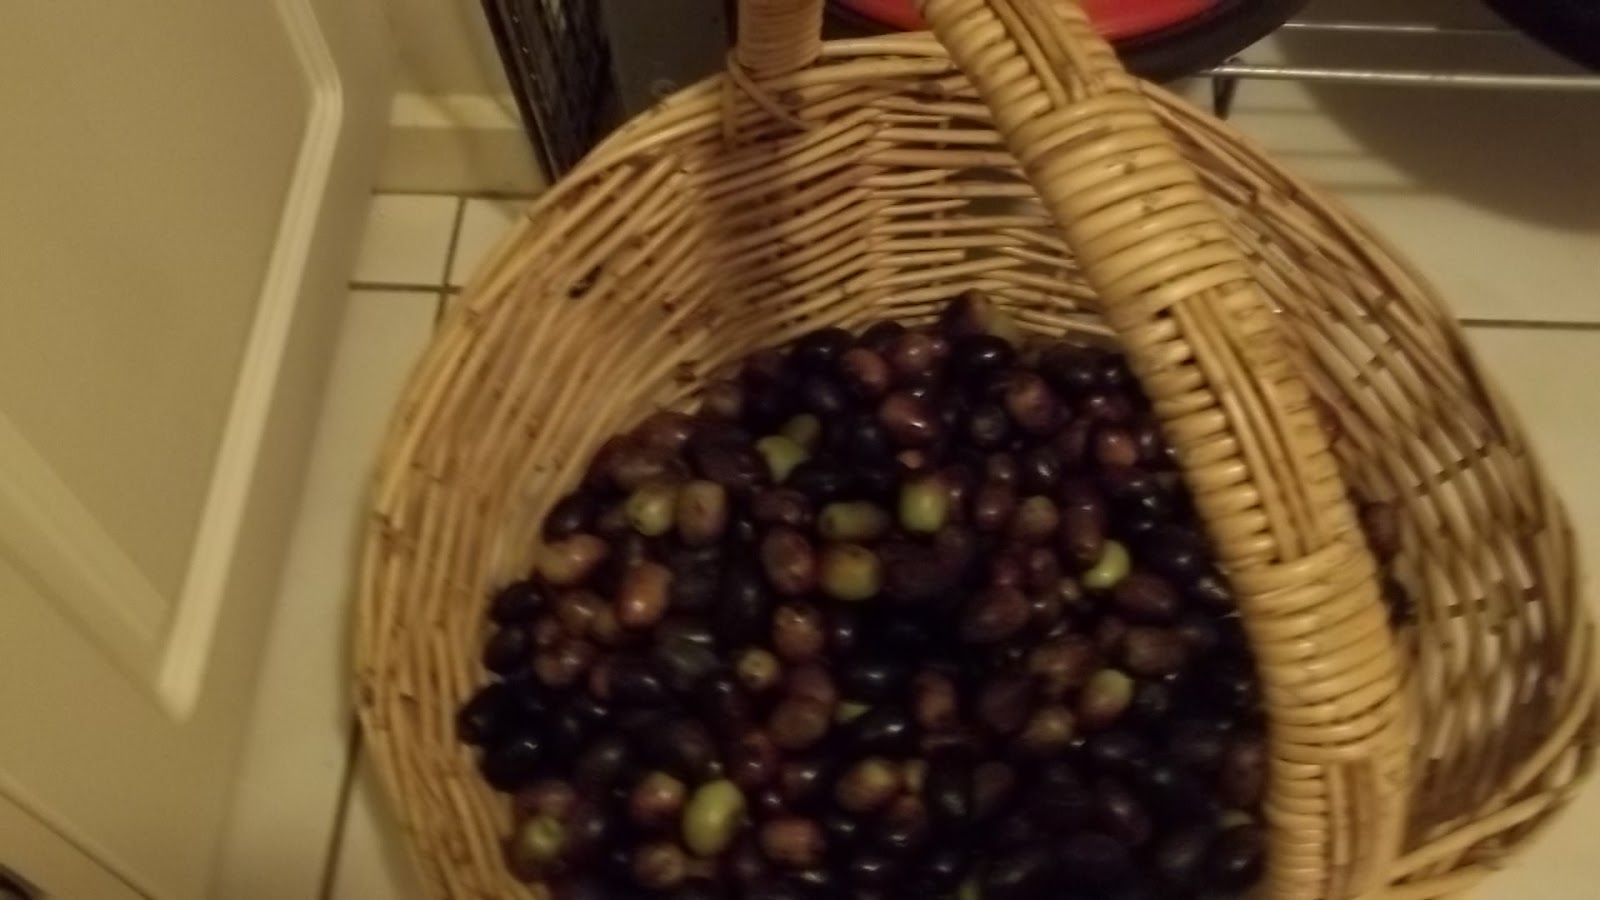
 Rayner was picking up the olives by hands last week, he made sure to pick the dark colour olives, as they are ready to be harvested. He's delighted that he could fill the basket with 3 kg of olives or more. There are more green olives on the tree which need more time to turn blackish.
Ideally, it should be finished to harvest before midwinter, we may have to let them go, as the frosting won't be any good for the olives
It has been a good harvest, and I will be busy to preserve the olives, it needs time, and it is also a long process, but at the end, we could enjoy all this lovely home preserved olives. I could cook fried olives in batter, just like if you have them in Provence, and also marinade olives with herbs and olive oil. A lot of good cooking and eating to look forward to.
The Kalamata Olives

In previous posts about olives, I baked olive bread and pizza using the preserved olives that I made from the last harvest.
Once you have the basic dough, you could bake the pizza with any topping. Pizza with olive and anchovies was the pizza that I cooked, and it was good.
Pizza with home preserved olives and anchovies


The olive bread was good too, crusty on the outside and soft in the middle. By using good strong flour for bread making, it gives you a better result. I like to knead the dough by hand, I enjoy doing it, it is almost therapeutic and fun, releasing all the tensions that you may have. But, of course, by all means, do it with an electric mixer or use the bread machine.
Pitted homemade preserved olives, dressed with fresh herbs and olive oil


Olive Bread
Susy's own recipe
 |
| Using OO flour, you can get it from any Supermarket 2 cups full OO flour, 2 teaspoons dry yeast, 1 teaspoon sugar, 1 teaspoon salt 3/4 cup warm water and 1 tablespoon olive oil |
 |
| Mix all ingredients, gather around to make a soft dough |
 |
| Transfer onto a floured board, knead the dough about 8 minutes until the dough is elastic, very soft, and shiny. |
 |
| Put the dough back in the clean bowl, keep it in a warm place until the dough rises onto doubled in bulk, about 1 hour and 20 minutes. |
 |
| The dough has risen to double in bulk, it is ready for the shaping of the bread. |
 |
| Transfer to the floured board, punch it down and shape for the olive bread. |
 |
| Knead lightly, form to a long shape, put some olives and herb oregano and rosemary. |
 |
| Roll the dough over, so the olives are underneath the dough, and add some more olives and herbs. |
 |
| Roll the dough once more to cover all the olives completely. Shape the dough for olive bread as you like. |
 |
| I twist the dough to make the olive bread and keep it in a warm place to prove for the second round for about 25 minutes. |
Now you can organise the oven, get the baking stone ready. Heat the oven up to 200 degrees C for a fan forced, place the baking stone on a rack, in the middle of the oven. When the oven is hot reaching up to the heat, put the ready olive bread dough in, and bake for 20 minutes, then reduce to 175 degrees C, and continue cooking for 15 minutes.

 |
| Freshly baked olive bread |
I put a tray of hot water in the oven as well, so the steam can make the bread to have a better crust. I think the bread had a good crust, and I was happy enough.
The Olive Bread


It sliced well, we enjoyed the fresh bread as it was, and we sliced more and grilled them for the next day and served with cheese.
Have fun and happy baking.
OLIVES AND OLIVES

Until Next Post
Susy
No comments:
Post a Comment