Sunday, 24 November 2013

Fruit Trees


Pomegranate
After a long wait, the pomegranate tree is flowering.  I have to admit though, last year I saw one flower, but it did not stay, the flower fell off the tree, that's the end of it.  But this year the tree has a few buds, I am very excited, I know that pomegranate flower is so pretty.

Pomegranate Tree

I planted it six years ago, it was a gift from my daughter Melanie, she will be glad about it. The tree has settled and grown well, I won't be surprised if I could harvest the fruits this year.


Nectarine-Apple
Other trees, the nectarine and apple trees are fruiting.  Rayner is so happy about his apple tree, the tree is doing better than last year's, we will have more apples,  he said.  But the nectarine just has enough fruits.

Nectarine - Apple Tree


Figs
The latest fruit tree that I planted was a brown turkey fig, and now it is fruiting.  I did not believe what I saw, they are a few baby fruits on it, especially it is a tiny potted fig tree.

Potted Brown Turkey Fig


The fruits are so small, but indeed they are fruits.  I will keep you informed, next time you will see real fig fruits.

The other potted fig is looking great, it is getting bigger,  and also has a few small fruits, these are the green fig fruit with pink inside.
The Large Potted Fig


Olive Tree
There won't be any olives this year, it is good to have a break from the harvest and preserving.
The Olive Tree


Citrus Trees
Other fruit trees are citruses which are doing alright, mainly the Tahitian lime, it has millions, but the mandarin has only a few.  Last but not least is the Lisbon lemon,  it has some, it is a new plant, within a few years when the tree is mature then it will bear more fruits.

Tahitian Lime- Loads of Fruits
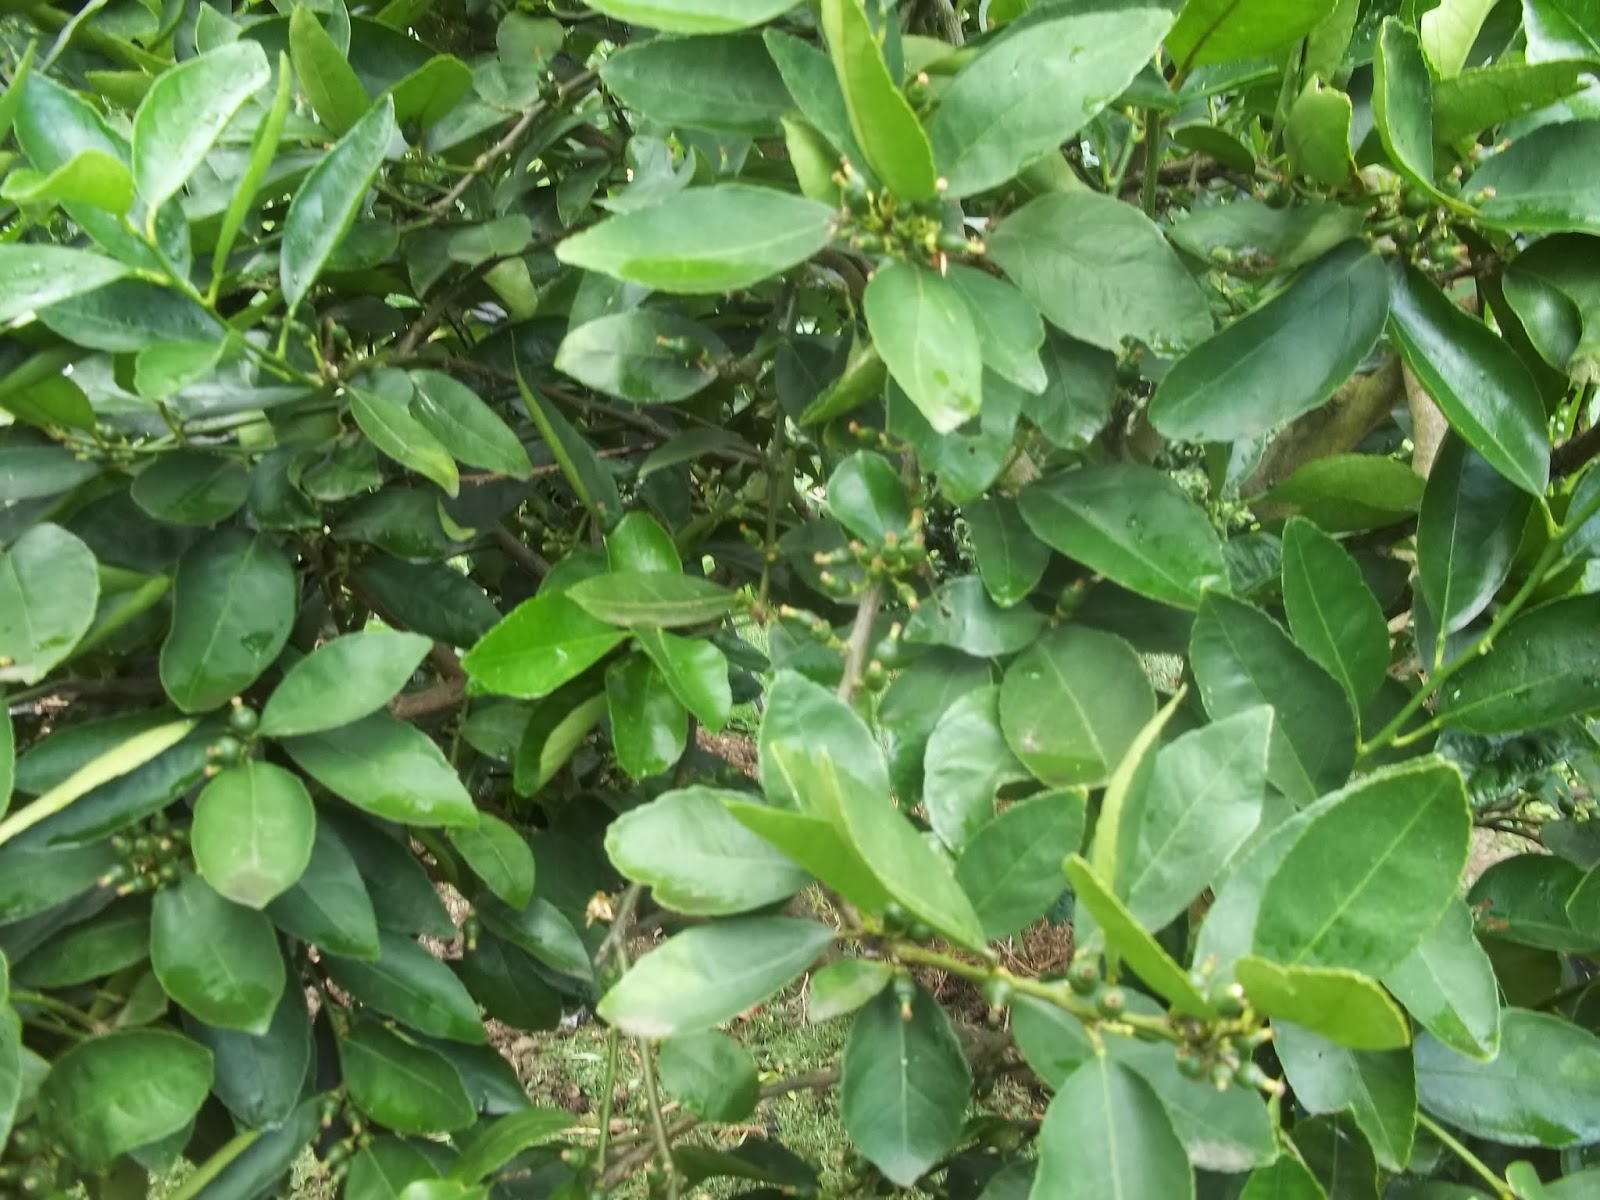

The Lisbon Lemon


On the other hand, two ornamental fruit trees the twin crab apples are having a rest this year, I don't know what happened to them, they had loads of flowers but no fruits at all.  At present, the trees look very slim after they were pruned.

Crabapple Tree

The Twin Crabapple Trees 


The twin crabapple trees are our ornamental trees from which we get the enjoyment out of the beautiful flowers and cute small red fruits.  It is a fantastic view when they are in flowers, they are pretty and pink, dropping down like curtains dividing the place.


Having fruit trees is a lot of work for all gardeners.  They need regular care, such as fertilising, pruning, and watering during the hot season, also when they are fruiting, the trees need special protection from the birds.  However, the discipline and hard work pay off with the fresh fruits.  It Is Worth It.

All these fruit trees are growing in our backyard, and they are protected by the green wall - the tall hedges.  Recently the gardener came to trim them about one meter off for easy maintenance, it took him a whole day to do it.  I got used to it already, I am quite happy to see that the fruit trees are still shorter than the hedges-the green wall, the fruit trees are safe.

This year is not a drought year in Australia, I hope all gardeners have an easy time and better harvests.  Enjoy!


Thanks for Visiting
Until Next Post
Susy

Thursday, 21 November 2013

A Visitor

The other morning before seven o'clock,  I opened the kitchen door, and I saw a cute cream colour rabbit in the backyard.  The rabbit was hopping along, enjoying himself (a boy maybe), exploring the garden.  It's the first time that a rabbit came to our yard.  I did not know what I had to do.  A few hours later, I was in the backyard, and I saw him again, he was sniffing around the grass, plants, and he decided to eat some of the fresh pea straw leaves.  I came close to him, and he did not care, he was so placid.
 The Cream Rabbit, the Visitor

I hope he won't eat everything in my vegetable patch, anyway there are not many plants, except herbs and baby Swiss chards.  I told Rayner about it, and he was surprised and laughed, he said: maybe it 's some one's pet.

In the afternoon, while Rayner was working in the backyard, there was no sign of him, and he has almost forgotten about the rabbit. However, in the late afternoon, he saw the rabbit,  he ran around and sniffing any plants or leaves.  Rayner thought that he was friendly, he was not scared of human beings, at least not with Rayner.


The rabbit was very choosy, he did not eat just about anything, he thought first and decided what he wanted to eat.

We let him go, as an evening has come and he was not there any more.  Tomorrow is another day, if he is back we must act accordingly, I thought we have to ring the Council.


This morning, it is the day after,  I looked for him, but he was not there, I hope he is home in a safe place.

I am sure if the grandkids were here, they would be happy to welcome him, to play with him.

It was good to see a rabbit in the backyard, but I am still wondering where did he come from?

Do rabbits damage gardens?  If they do, it is not welcome to our place, he must go to the place where he comes from.  He is an unwanted visitor.

OMG. The rabbit is back, outside at the very moment, eating the grass.  Rayner tried to catch him, but he moved so fast, he did not succeed.  Then he saw the rabbit was having a rest under the apple tree.  Rayner thought he must be a pet of someone.  I wish we could find the owner.

No, I have not seen the rabbit since yesterday, I hope he is well and happy with his family.

An amusing story?!


Until Next Post
Susy

Friday, 15 November 2013

Coffee Cake


Beautiful coffee cake, easy to prepare and delicious.  The recipe is for you to try.
These are what you need, two twenty sandwich tins to bake the cake, baking paper, ingredients for the cake which is explained in the recipe.  Buttercream and Kahlua to dress the cake.


Use the food processor to mix the cake instead of the electric cake mixer.

Use the electric mixer to beat the buttercream if you wish, but the food processor could do a good job too.

Once you have organised the wet ingredients and the dry ones, the process only takes a few minutes.

Mini coffee cakes filled with whipped cream and Kahlua


The Recipe for Coffee Cake


Coffee Cake


Ingredients

For the cake

250 g self-rising flour

225 g castor sugar

225 unsalted butter (softened)

3 tablespoons strong black coffee

4 large eggs

2 tablespoons light sour cream

Extra butter for greasing 2 X 20 cm sandwich tins to bake the cake in

Butter Cream
(butter, sugar and Kahlua)

350 g icing sugar

175 g soft unsalted butter, 1 tablespoon strong black coffee and a cup of Kahlua


Extra Kahlua to sprinkle onto the cakes

Method
Preheat oven 160 degrees C (for a fan forced).  Line with baking paper and butter the base of the two tins.  Place the dry ingredients: flour and sugar in the food processor, pulse to mix for a few seconds. The wet ingredients: lightly beaten eggs, softened butter, and the coffee, add into the dry ingredients, process, mix together to make a smooth batter. Add in the sour cream, pulse the machine to lighten the cake mixture to a pouring consistency.  Divide the mixture between the 2 lined tins and bake in the preheated oven for 22-25 minutes, or until the cake is springy to the touch.  Leave the cake on the tins for ten minutes before turning out, peel the lining paper then place on a cooling tray to cool.
The buttercream
Sift the icing sugar, put in the mixer, add the butter and beat until smooth.  Add in the hot coffee, mix to combine, and add the Kahlua, blend into the buttercream.


The Cake
Cut the cake in halves, and fill the cake with the buttercream, you would have three layers, plus one for the top.  Put the top and sides of the cake with the buttercream too.

Preparation
Lined and greased 2 x 20 cm sandwich tins
Flour, sugar (the dry ingredients)
eggs, black coffee, sour cream and softened butter
Lightly beaten eggs, black coffee, sour cream
and softened unsalted butter
(the wet ingredients)
Put the dry ingredients in the food processor, and pulse to mix
add in the wet ingredients (except the sour cream)
 the process to mix until smooth
Add in the sour cream, mix together to make 
a smooth and light mixture
The cake mixture is smooth to a pouring consistency
Divide the batter between the two prepared tins
Bake for 22-25 minutes on 160 degrees C 
(in a fan forced oven)
Freshly baked coffee cakes
Leave the cakes on the tins for ten minutes
before turning out 
Peel the paper, cool the cake on a tray


The Butter Cream
Sift the icing sugar before mixing it with the butter, coffee and Kahlua.
Put the sifted icing sugar in an electric mixer, add in softened butter, beat them together until smooth.  Add in the hot black coffee, mix together and beat high speed for a few seconds.  Add the Kahlua and mix thoroughly.  Now you have it, a smooth coffee buttercream.

Sift the icing sugar to get out of the lumps

The buttercream, smooth and creamy

To Dress the Cake
Cut each cake into two
Sprinkle each half with a cup of Kahlua
Spread some of the buttercreams onto each cake
After finished stacking the cake, now dress the outside of the cake
with the rest of the buttercream
Decorate the cake with piping of the buttercream or put walnuts on top.
Transfer the cake onto a serving plate.

I think this cake is very rich, cut thinly, it serves for 16 people.


Another variation, fill the cake with sweetened whipped cream with Kahlua flavour and dress the cake in the buttercream.  Make half of the quantity of the buttercream only.

Have fun and happy baking!


Until Next Post
Susy

Friday, 8 November 2013

Scones and Dampers


There are days when you want to do baking in a small quantity, but you don't want to use the oven. This is what I do, and I like to share my way of cooking with you.  Baking scones and dampers using the stove, baking in a Pot.  Believe me, it is effortless, quick and economical.

Use a heavy based pot, and bake your damper or scone in it.  I use my Le Creuset pot, there are similar pots that are sold in the shops, and they are as good.  You need a light tin to place the dough on the pot.

Scone

The scone: you won't' get nice golden looking scone from this technique, but you could imitate it by brushing/glazing the scones with honey and brown sugar mixture prior cooking.


Plain Scone with Jam
Baked scone in a pot, with home, made pumpkin jam


Recipe

Baked Scones in a Pot (over the stove)


Ingredients:
1 cup full self-raising flour
1 teaspoon sugar
2 tablespoons melted margarine
1 egg
1/2 cup milk
extra flour for kneading

Glaze mixture
1 tablespoon brown sugar, 1 teaspoon honey mix with 1 tablespoon hot water and 1 tablespoon melted butter or margarine.  Mix all ingredients together and stir to make a smooth mixture.

Method
Put the pot with the lid over a hot heat, make sure that the pot is very hot, it takes approx 10  minutes
Mix all the ingredients together to make a smooth dough.  Put onto a floured board, and knead it lightly and quickly.  Cut the dough into 10 small rounds, place the scones onto a lined tin cake (the size is small or big,  it has to fit in the pot)
Put it on the hot pot, cover and cook for 6 minutes.  Open and check that the scones rise enough.  Put the lid back onto the pot, take the heat off and leave the scones for another 6 minutes further cooking.
Take the scones out and transfer them onto a wire rack to cool.

The scone is moist, and the top is not crusty, but it has a golden brownish colour.

To serve: serve the scone as you like it.  I split them into halves, butter and add some topping.


Damper

The damper is a traditional Australian soda bread prepared by swagmen, drovers, stockmen and other travellers.  It consists of a wheat flour based bread, traditionally baked in the coals of a campfire. The damper is an iconic Australian dish.   (Wiki)

Delicious and easy cooking dampers in your kitchen.  You don't need to be in the bush to cook rustic looked damper.
Nine Herbs Damper
Damper cooked in a Pot.

Recipe

Nine Herbs Damper

Ingredients
250 g self-rising flour
1 egg (50g)
A pinch of salt
the cooking damper in a pot
2 tablespoons oil
140 ml of milk
Nine mixed fresh herbs-chopped
(chives, rosemary, thyme, mint, lemon balm, fennel leaf, dill, coriander, flat parsley)
Extra flour for kneading
Method
Heat the heavy pot with the lid on for ten minutes, until it's very hot.
In the meantime, prepare the damper dough.
Place the flour, salt and the chopped herbs in a large bowl, mix together.
Add in the liquid ingredients (lightly beaten egg, milk, oil) to the flour mix
Quickly stir, mix together to have a soft and sticky dough.
In a floured board, place the dough, rub your hands in flour, knead the dough quickly
Make a round ball and flatten a little, cut a deep cross in the dough then place it on a tin.
Put on the preheated pot,  put the lid on, bake on the high heat for 5 minutes
Reduce the heat to very low and continue cooking for 10 minutes.
Open the pot, check the damper.  It should be risen but not cooked or burnt.
Put the lid back, and continue cooking for 10 minutes, turn the damper over to cook to brown for 2 minutes further.
Transfer the damper onto a cooling tray

To serve: cut in wedges, butter and put any topping as you wish.  I put cheese on top, or simply butter them and eat with soup.


Note: I used nine fresh herbs, as I have an edible herb garden in the backyard.  You could improvise, use any herbs you fancy.


Variations Of Dampers
Damper with macadamia nuts or even sweet dampers by adding any dried fruits, serve buttered and drizzled with honey.

Damper with Macadamia Nuts

I suppose you could cook these dampers outside in the backyard in the BBQ kettle.  Do it on a sunny day, enjoy the garden and fresh air.

I have a confession to make, once I cooked a damper with this technique, and forgot to put the dough in a tin; instead I put the dough straight on the pot, . . . . Soon after, I smelled of burnt cooking.  Be organised and don't leave the kitchen before you set the timer.

The hot weather is here now, it is advisable not to use the oven to cook, instead cook by using the stove, to keep the kitchen cool and the whole house pleasant.

Happy Cooking!


Thank You for Stopping by
Until Next Post
Susy

Sunday, 3 November 2013

The New Look


Changes are good.  Winter flowers have long gone, and the Spring flowers and plants are here to give a new look in every corner.

The entrance from the backyard to the house has a new look, there are no more potted cyclamen flowers, potted tiny fig. Instead, we have a potted large weeping fig or ficus tree, potted Hoya and potted gardenia which is in flowers at present.  The fragrance is so delicate, when the door is open, we smell the lovely scent from inside the house.
The gardenia has been flowering and shown more buds

The tall weeping fig-Ficus benjamin


In the house, there are no longer large orchids, instead of the colourful orchids, we have  Monstera Deliciosa. It is a huge potted indoor plant, and 'how did it get there',  well I did it, but you don't want to know.  When I decided to move heavy things around, I make sure that Rayner is there, but he ought to be in a different room.  I like to work undisturbed, but if something unpleasant had to happen, I could ask him for help.  It took a while, but from start to finish, but I am pleased with the result.  The Monstera Deliciosa stands firmly with the leaves shiny and clean, and it looks beautiful.

Outside: the orchids are retired, for now, they are sleeping in shady places, and these potted hydrangeas took their place,  soon in December we will have the flowers.
One of the last orchids for this year is still going and sitting in between the potted hydrangea plants.


It is tedious work, replacing plants with new ones every time, but changing scenery is necessary to keep the place more exciting and more enjoyable.  I do like the new look.


Thanks for Stopping By
Until Next Post
Susy