Wednesday, 25 March 2015

Gulai Kambing


Delicious curry, cooked from a leg of goat, a tasty dish, it is excellent for Sunday dinner, or family get together.  The recipe is based on Javanese cooking-gulai kambing.

In my kitchen, - the way I cook the gulai kambing.
I braised the whole goat leg with stock and spices over low heat for a few hours.  The juice makes a creamy sauce, especially after it is added with coconut milk.

The Preparation and the Cooking.

Clean and Trim the Leg of Goat


The Spices

The cooking of spices paste
 Cooking/braising the goat leg
Cooking the leg of goat in spices before adding the stock
The second braising: meat is tender, pulled off the bone, chopped into small pieces and added with coconut milk. ( I added tomato and red capsicum sauce for extra colour).
Beautiful looking curry, the sauce is so creamy, the vibrant colour 
of the spice paste mixed with the coconut milk comes out beautifully

THE SERVING
Transfer the gulai onto a large serving bowl or a tureen and place on the dinner table together with the garnishes-steamed white rice, shredded lettuce and prawn crackers, maybe fresh green chillies.

To Be Practical
Simply serve the dish from the kitchen and bring them to the dinner table, and everyone can enjoy.


The dish freezes well, so it does not matter to spend a lot of time to cook, but it is worth it.


The Recipe for Leg of Goat Curry or Gulai Kambing is here for you.

Gulai Kambing-Goat Leg Curry

Using a leg of goat meat.

The tradition Javanese gulai kambing uses mixed meat from the goat including the offal.


The Recipe-Susy’s recipe

Gulai Kambing

Ingredients:
A leg of goat (2.2-2.5 kg)
1 lime, 1teaspoon salt

400 ml coconut milk (a tin)
A ½ cup of vegetable oil
2 litres light stock or hot water
1tablespoon salt and 1 tablespoon brown sugar

Spices:
1 tablespoon turmeric powder + a small piece fresh turmeric
2 teaspoons ginger powder + a small piece fresh ginger
1 teaspoon galangal powder + a small piece fresh galangal
(a small piece = as big as your thumb)
2 teaspoons coriander powder
1teaspoon white pepper, ground
1teaspoon cinnamon
½ teaspoon cumin seeds/ powder
½ teaspoon nutmeg powder
¼ cloves powder
7 candlenuts
3 red chillies
1 large brown onion. Chopped.
6 cloves garlic

2 fresh limes (the juice only)

Herbs and Citrus

1 lemongrass
1 piece of fresh galangal (small piece)
3 kaffir lime leaves
3 daun salam (salam leaves)
2 fresh limes

Method


  1. Grind the spices ingredients in a food processor, or with mortar and pestle until smooth, add in the juice of limes and mix thoroughly.  (if you use a blender to make the spice paste, add in a cup of water to make the machine goes better). Now you have a smooth and slightly runny spice paste.
  2. Rub the leg of goat with lime and salt, put it in a large hot pan, and seal the meat with the oil.  Take it out and keep aside.
  3. Use the same pan, put the spice paste in and add 2 cups of water stir and cook, bring to simmer.  Keep cooking, add in the lemongrass, kaffir lime and salam leaves, the fresh galangal, salt and sugar.
  4. Add the sealed leg of goat, put the lid on and cook for 10 minutes each side over low heat.
  5. Add in the 2 litres light stock or hot water, to make sure the liquid is almost cover the meat.
  6. Put the lid on and continue cooking, for 3 hours over lower heat, stir it from time to time and turn the meat over to cook evenly.
  7. Check the seasoning, and after three hours braising, switch of the burner, keep the pan aside and leaf the meat to cool in the sauce.
  8. Take the meat off the bone, cut in small pieces, put them back in the pan.
  9. Reheat, the gulai/curry add in the coconut milk, and cook to a gentle simmer.  Now place the lid on, and braise over low heat for another 45 minutes.
  10.  (optional: add some tomato and red capsicum sauce for extra colour)

To Serve:
Serve with steamed white rice and garnish with shredded lettuce and krupuk-prawn crackers.

Place some rice in a bowl, ladle the gulai over it (be generous with the broth/gulai sauce) and add the shredded lettuce.


Enjoy the recipe and happy cooking.
Susy

Tuesday, 24 March 2015

Repotting Orchids and Ferns.


Repotting  Orchids

It is a good idea to divide orchids after finished flowering, I got a few cymbidium which need to be split and also to be repotted.
The creamy cymbidium orchid needs repotting, the pot has cracked because of the overload roots. Everything that I may need to do is there, pine bark, garden lime, blood and bone and potash. Somewhere in the backyard, I did it, I don't have orchid's house, just as well the cymbidiums are very hardy and easy to care for.

Dividing and Reporting Orchids
It was a large orchid, now it becomes three pots, two large pots and one small 


The three new repotted orchids look so good, they have new barks, added with lime and blood and bone. After they watering the three pots, let them rest for a while under the sun. The last step is adding slag bite. Then the process of reporting has done.

The orchids are ready to transfer to their place, which is a more relaxed spot and protected by the wind. They are labelled and looking good.

Repotted 17-12-2014
Dark Red Cymbidium
Other orchids which are repotted are dark red and mini cymbidium orchids.

The mini cascading cymbidium gives us pretty flowers every year, but we will miss them this coming year, as it won't be flowering after dividing.


I am so pleased to see that the new orchid plants look so fresh and clean.

We both have been so busy in the garden.
Rayner was busy cutting the hedges - my green wall, but unfortunately, the saw was broken.  We need a new one, I hated it when it happened.

You do need decent tools to get a good job done.


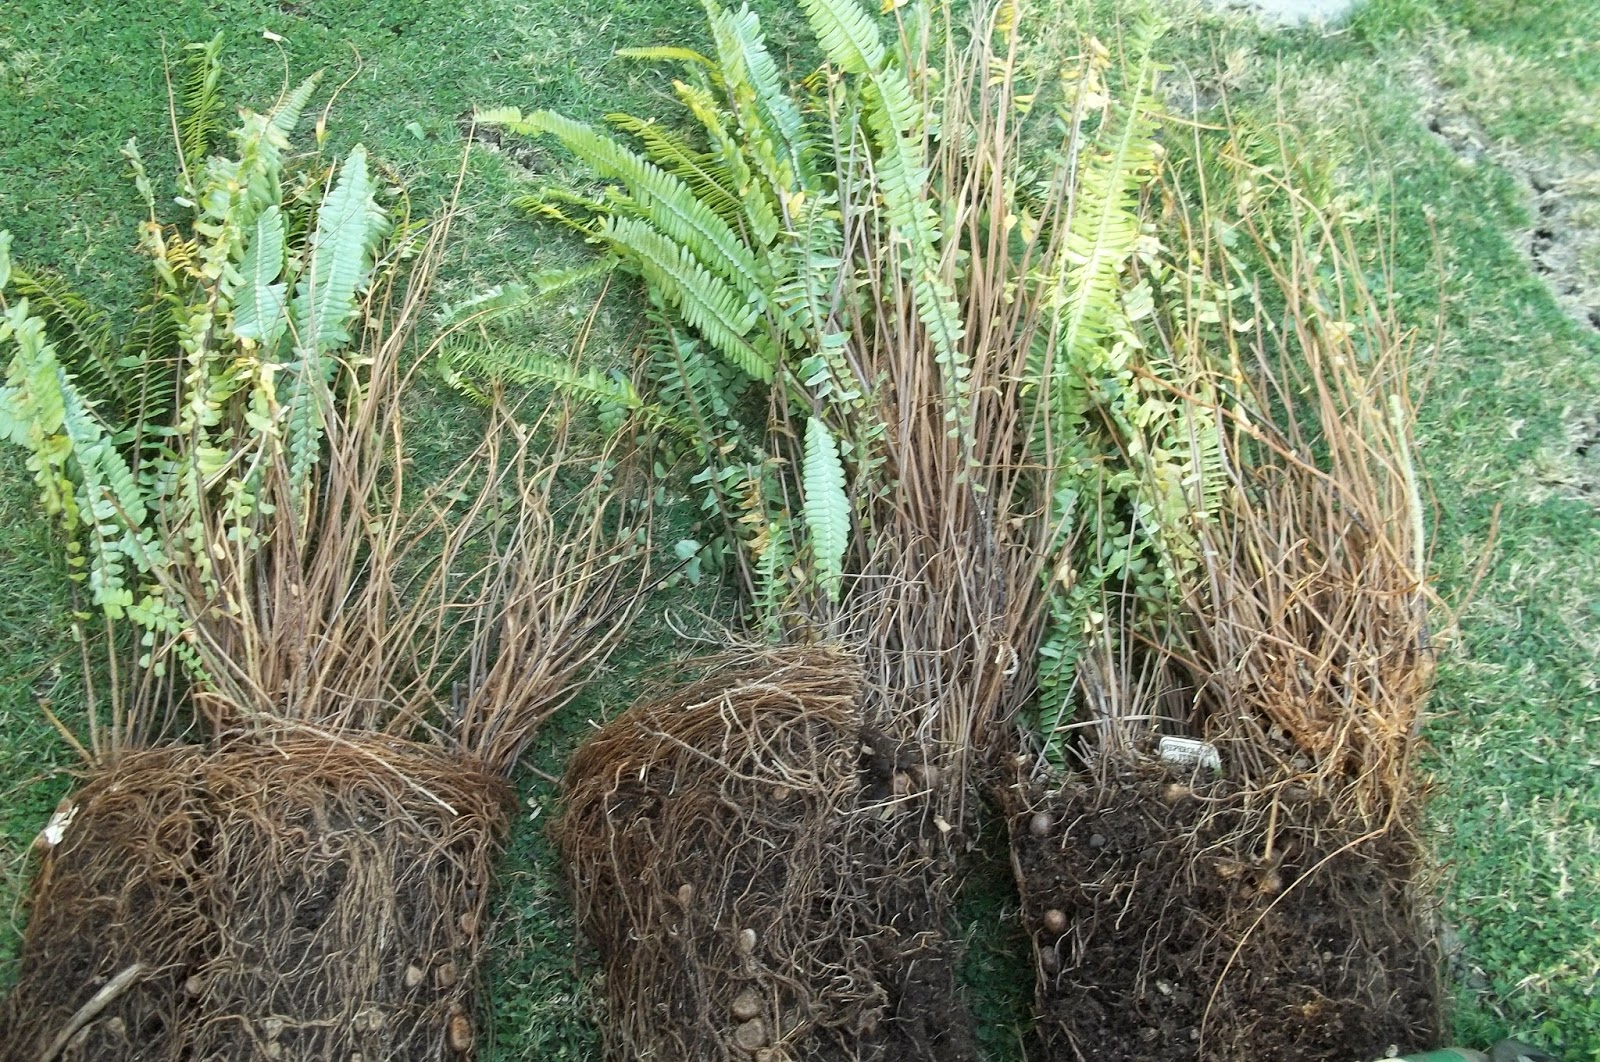
More dividing and re potting work to do, the fishbone fern is overgrown, it is root bound.


The fern does not look good, and it has been in the pot for a few years. Three pots I need for the Fern are here

Repotting Fern

Dividing the Fish Bone Fern.
 Two new potted ferns have been done, one more to go, I am sure it will be done by next week.

They are watered well, and they need some trimming and clean.
 The last fern has to be done soon, in the meantime, it is soaked in water.


I am looking forward to finishing off this job.  Other potted ferns in the garden are growing very well, what they need only regular watering.


Enjoy Your Garden, and Happy Gardening!


Until Next Post
Susy

Friday, 13 March 2015

Susan Sponge Cake


Susan sponge cake is gluten free cake.  The cake is deliciously coated with sugar and desiccated coconuts, dressed with honey and mixed roasted nuts and filled coconut custard cream.

It is for you Sue, I hope you will like it.  xx


Recipe (adjustments from other methods)

Susan Sponge Cake


¾ cup caster sugar
4 eggs
¾ potato flour
¼ cup tapioca
½ teaspoon bicarbonate of soda
1 teaspoon cream of tartar


Method

Butter and line two round baking tin (20 cm)
Preheat oven to 160 degrees C (fan forced)
Sift together the flours. bicarbonate of soda, and cream of tartar a few times.
Beat the eggs and sugar until thick, light and fluffy about 11 minutes.
Fold and stir in the flour mix, do it gently
Pour on to the prepared baking tins
Bake the sponge for 11-13 minutes
Take them out from the oven, and let them stay in the tin for five minutes
Transfer to a cooling tray and keep them away from the draft.

To serve

Fill the sponge with sweet custard coconut cream, and dust the top with icing sugar.
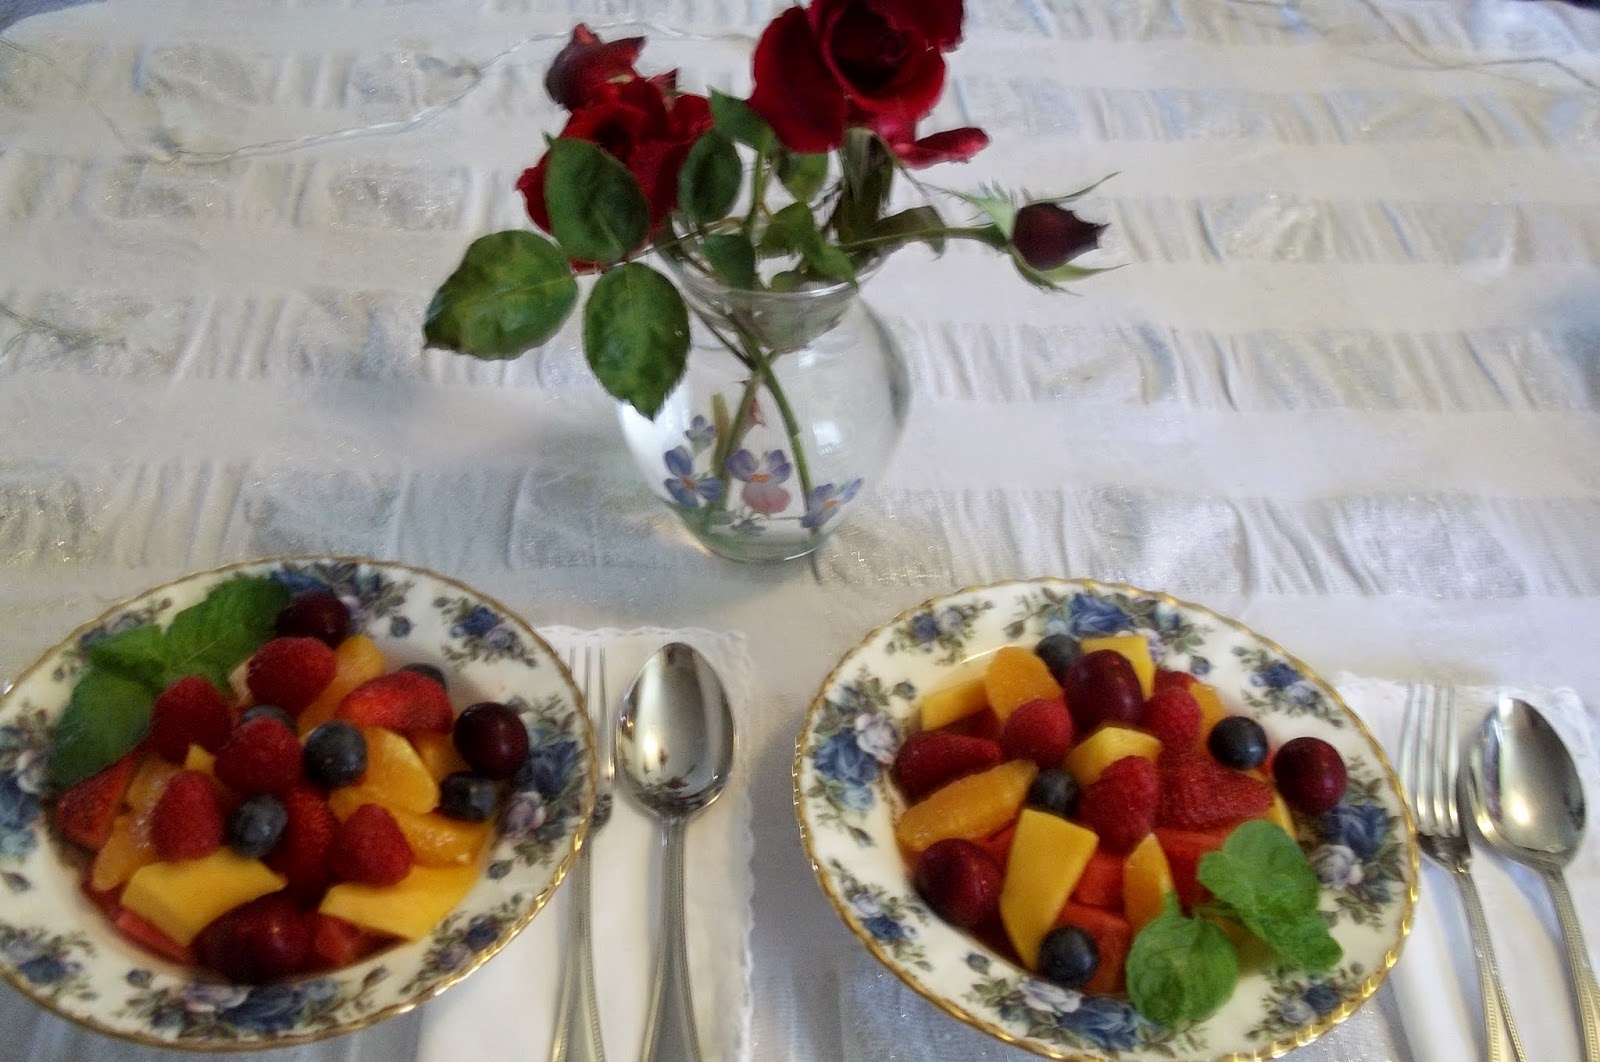
It is delicious to serve with fresh fruits, strawberries, raspberries and passion fruits. 


The Preparation and The Baking

Two tins are lined and buttered, the flour and raising agent is sifted 

Sugar and eggs are beaten together for 13 minutes until thick and fluffy.
Divide the mixture into two, and pour into the two prepared tins

Freshly baked the two sponge cake for 13 minutes.

The cake is cooling on a try.
I think next time I may have to bake for 11 minutes only in my
oven, 13 minutes is too long.


NOTE:

From this batter, you could add some melted butter to make small cakes, serve as you like.

Add in about two tablespoons melted butter at the end, mix and fold gently.  Spoon onto a baking cup tin, and bake in medium heat 165 degrees C for 11 minutes.

Keep in the freezer for better freshness, and thaw to dress.


I am sure it is going to be more posting regarding gluten-free baking and cooking.

Until Next Post
Susy

Thursday, 12 March 2015

In My Kitchen.


Different Dishes and Delicious Food.


It is good to prepare food from the childhood 's favourites, 'Gado Gado -salad with peanut dressing is one of them (the last group of the pictures).
Cooking pleases me, especially it is good to be doing it with my grandchildren and family.
COOKING IS FUN!!!.
Susy